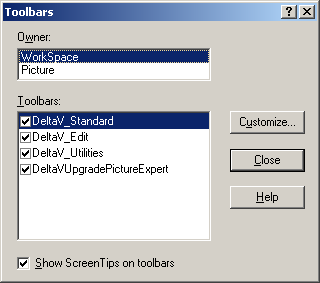
Toolbars and the Toolbox - overview

Practice using the Toolbars dialog

  1. Click WorkspaceToolbars.

    The Toolbars dialog appears. By default all the workspace toolbars are displayed.


  2. Make sure that Show Screen Tips on toolbars in the lower left corner is selected.

    With Screen Tips enabled, when you pause the pointer over a tool in the Toolbox, its name will pop up.

  3. Uncheck and recheck the various toolbars to see the buttons that belong to each toolbar. (Watch the toolbar across the top of the window and see which buttons disappear and then reappear.)
  4. Click the Customize button and use the online help to familiarize yourself with the Customize Toolbars dialog.

    Later, when you are more familiar with the tools, you can add and remove buttons and toolbars to suit your needs.

  5. Click Close on the Customize Toolbar dialog.
  6. Click WorkspaceToolbars to reopen the Toolbars dialog, and then select Picture in the Owner field.
  7. Select DeltaV_Toolbox if it is not already selected.

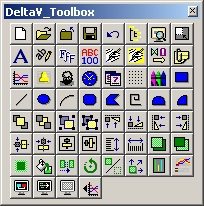
    The DeltaV_Toolbox is a group of toolbars assembled in one box. It saves space on your picture because you do not have to keep several toolbars open. By default, docking is not enabled for the DeltaV_Toolbox and it floats regardless of its position on the screen. The DeltaV_Toolbox contains everything from simple drawing tools for creating lines, rectangles, and circles to complex charting tools.


  8. In the Toolbars dialog, select DeltaV_Operating_Experts if it is not already selected.
  9. Click Close in the Toolbars dialog.