The Advanced Continuous Historian

Install PI AF Client support for chart objects in DeltaV Live

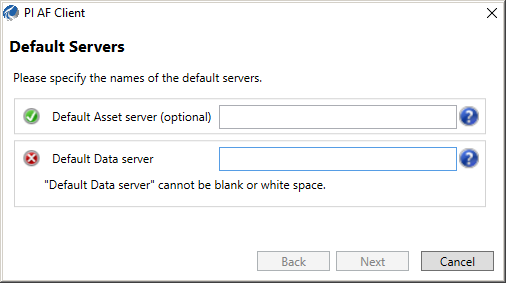
If you are using the Advanced Continuous Historian or an OSIsoft PI Server enterprise historian and configure a chart object to display a chart of historical data in DeltaV Live, you must install PI Asset Framework (AF) Client software on each DeltaV Live workstation where the chart object is configured.

To install the PI AF Client, complete the following steps:

  1. Log on as a user with Windows Administrator account privileges.
  2. Insert the Advanced Continuous Historian installation disk in the drive.
  3. Click StartRun.
  4. After the Run dialog appears, click the Browse button.
  5. Navigate to the Advanced_Continuous_Historian\AF Client folder.
  6. Select the PI-AF-Client_2016-R2-SP1_.exe setup program, and then click the Open button.
  7. In the Run dialog, click the OK button.
    In general, you can accept the defaults during the installation of the PI AF Client; for example, notification symbols related to the availability of optional PI AF Client features can typically be disregarded.
  8. When the Default Servers dialog appears, specify the name or IP address of a system where the Advanced Continuous Historian or PI Server is installed in the Default Data server field.


  9. When the Customer Experience Improvement dialog appears, read the scrolling text in the information window, and then select whether or not to participate in this program sponsored by OSIsoft.
    For additional considerations, consult with your system administrator.
  10. Restart the DeltaV Live service (DeltaV OE Web Service) on this workstation.